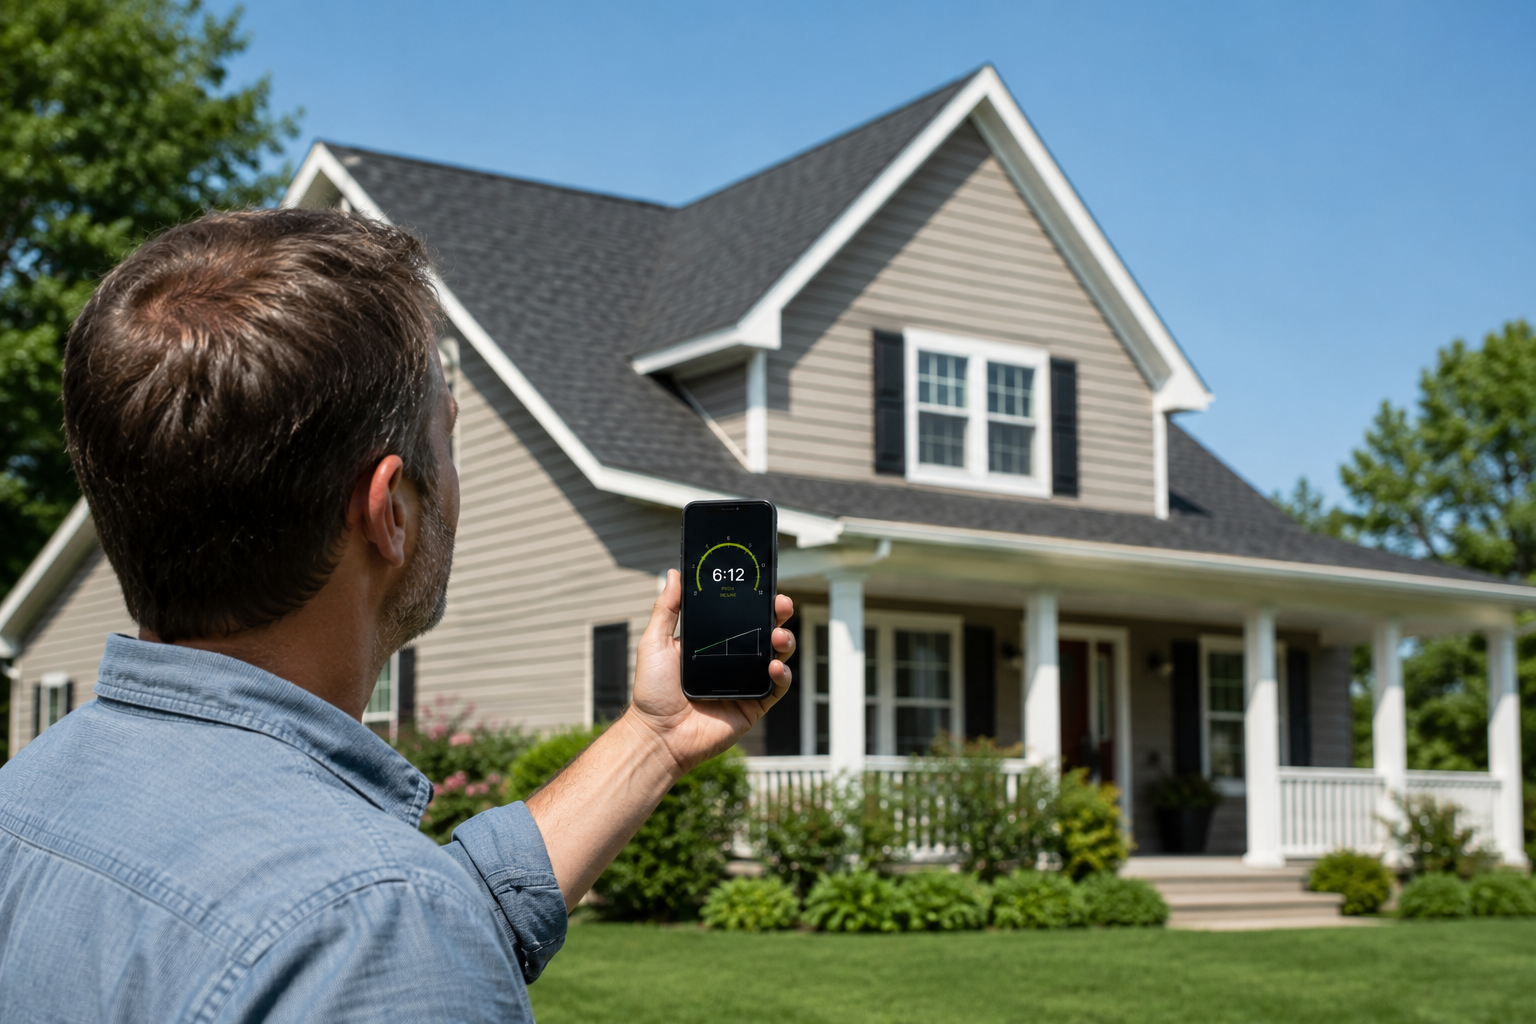
Online Roof Pitch Calculator: Measure Without Climbing the Roof
Climbing on a roof to measure pitch is one of those tasks that sounds simple but carries real risk — especially for homeowners who don't do it regularly. A wet surface, an unexpected slope steeper than it looks from the ground, or simply a misstep on the ladder can turn a five-minute measurement into an emergency. The good news is that in most situations, you don't need to go up there at all.
Modern tools — from your phone's built-in gyroscope to a free online roof pitch calculator — make it possible to get an accurate pitch reading from the attic, from the ground, or from a set of building plans. This guide compares every practical method side by side, explains when each one is appropriate, and shows you how to get from a raw measurement to a complete material estimate without leaving the ground.
📐 Already have your pitch? Calculate area and materials instantly.
Enter your dimensions and pitch into the free calculator — no climbing, no guesswork.
👉 Open the Roof Calculator | 📱 Measure Pitch with Your Phone
Why You Might Need to Calculate Roof Pitch Without Going On the Roof
There are more situations than you might expect where a ground-level or attic-based pitch measurement is not just convenient but genuinely necessary:
- Wet or icy conditions — a roof that looks walkable is treacherous when wet. Measurements can wait; falls cannot be undone.
- Steep pitches — anything above 7/12 (30°) requires safety equipment for most people. A phone reading from the attic takes 30 seconds.
- Insurance or permit estimates — you often need a pitch figure before work has even started, before scaffolding is in place.
- Remote quoting — contractors quoting jobs remotely need pitch data from the homeowner before scheduling a site visit.
- Solar assessments — installers calculate panel yield from pitch and orientation before ever visiting the site.
- Historic or fragile roofs — old tiles or slates that cannot support foot traffic still need measuring.
Whatever your reason, at least three reliable methods exist that require zero roof access. We'll cover all of them — plus two methods that do require minimal access — so you can choose the right approach for your situation.
Method Comparison at a Glance
| Method | Roof access needed? | Accuracy | Tools required | Best for |
|---|---|---|---|---|
| Phone sensor (attic) | Attic only | ★★★★★ | Smartphone | Fastest, most accurate no-roof method |
| Gable-end geometry | None | ★★★☆☆ | Tape measure | Quick ground-level estimate |
| Online calculator from plans | None | ★★★★☆ | Building plans | New builds, planned renovations |
| Framing square (attic) | Attic only | ★★★★☆ | Framing square, tape | Traditional method, no smartphone |
| Speed square (on roof) | Roof surface | ★★★★☆ | Speed square | Contractors already on the roof |
Method 1: Phone Sensor App — The Fastest No-Roof Option
Your smartphone already contains a precision gyroscope and accelerometer — the same sensors used in flight instruments. A pitch gauge app reads those sensors and converts the tilt angle into a roof pitch ratio in real time. No ladders, no tape measures, no calculations.
How to use it from the attic:
- Open the Pitch Gauge tool on your phone.
- Go into your attic and find an exposed rafter.
- Hold your phone flat against the face of the rafter — parallel to the slope, not perpendicular to it.
- Read the pitch directly from the screen: displayed as X/12, degrees, and percentage simultaneously.
How to use it from inside the building (no attic access):
- Find a ceiling that follows the roof slope (a vaulted or cathedral ceiling).
- Hold your phone flat against the sloped ceiling surface.
- The sensor reads the angle of the surface — which is the same as the roof pitch above it.
💡 Accuracy tip: For the most reliable reading, use a long straightedge or a piece of timber laid along the rafter and hold your phone against that instead of the rafter itself. Rough-sawn or older rafters may have slight bows that introduce small errors. A 24-inch straightedge averages out any surface irregularities.
The Pitch Gauge also has a manual input mode if you already know your rise and run measurements and just want the tool to calculate and display the pitch ratio, angle, and gradient for you — without needing sensor access.
Method 2: Gable-End Geometry — No Access Required
If your house has a gable end — the triangular wall section visible at the end of a pitched roof — you can calculate the pitch entirely from the ground using two measurements and the online calculator.
What you need:
- A tape measure (or a laser distance measurer for accuracy)
- A clear view of the gable end of the building
Step by step:
- Measure the span — the full horizontal width of the building at the base of the gable, from outside wall to outside wall. This is your full span.
- Measure the rise — the vertical height from the top of the eave (where the sloped roof begins) up to the peak of the ridge.
- Calculate the run — divide the span by 2. The run is always half the span for a symmetrical gable.
- Calculate the pitch — divide the rise by the run, then multiply by 12 to express it as X/12.
Gable-end pitch formula:
Run = Span ÷ 2
Pitch = (Rise ÷ Run) × 12
Example: Span = 32 ft, Rise = 8 ft → Run = 16 ft → Pitch = (8 ÷ 16) × 12 = 6/12
Once you have your rise and run figures, enter them straight into the roof pitch calculator to confirm the ratio and instantly get the corresponding angle, gradient, multiplier, and surface area — all in one step.
⚠️ Limitation: This method only works for simple symmetrical gable roofs where you have a clear, unobstructed view of the full gable triangle. Hip roofs, mansard roofs, and complex multi-pitch roofs cannot be measured this way. For those, the phone sensor method from the attic is the better option.
Method 3: Calculate Pitch from Building Plans
If you have access to your building plans, architectural drawings, or a survey document, the pitch may already be marked — either as a ratio (6:12), an angle (26.6°), or a gradient percentage (50%). If it is, you're done — enter that value directly into the pitch converter to get the equivalent in whichever format you need.
If the pitch isn't explicitly labelled but rise and run dimensions are shown on a section drawing, apply the same formula: divide rise by run and multiply by 12. Architectural drawings are typically accurate to within a fraction of a degree, making this one of the most reliable methods available — as long as the plans match the as-built construction.
💡 Plans vs reality: Building plans reflect the design intent, not always the finished result. Older properties in particular may have settled, been modified, or simply been built slightly differently from the drawings. For insurance estimates, permit applications, or any project where precision matters, always verify plan data against a physical measurement using the Pitch Gauge or the framing square method.
Method 4: Framing Square — The Traditional Attic Method
Before digital tools existed, the framing square was (and still is) the standard instrument for measuring roof pitch. It's a large L-shaped metal square with inch markings on both arms. To measure pitch with a framing square you need attic access — but not roof access.
How to use a framing square to measure pitch:
- Go into the attic and locate an accessible rafter.
- Hold the framing square with the long arm (the blade) pointing along the rafter toward the ridge.
- Level the square horizontally using a spirit level placed on the blade.
- Read the marking where the rafter intersects the tongue (the short arm) of the square. Make sure the blade reads exactly 12 inches at the rafter.
- The number on the tongue where it meets the rafter is your rise — giving you the pitch as Rise/12.
Example: If the tongue reads 7 inches at the point where it meets the rafter, your pitch is 7/12.
Check the result against the pitch reference chart to confirm the angle and multiplier that correspond to your measurement.
💡 Framing square tip: The markings on a framing square are for the common pitch scale — the same X/12 format used everywhere in US residential roofing. Some squares also have a degree scale on the outer edge. Both scales give you the same information in different formats.
Method 5: Speed Square on the Roof Surface
If you or a contractor are already on the roof for another reason, a speed square is the fastest on-roof method. A speed square — the small triangular tool almost every trades person carries — has a built-in pivot, degree scale, and common pitch scale.
How to use it:
- Place the speed square's pivot corner against the top edge of a rafter or against the roof surface itself.
- Rotate the square until the edge of the blade lines up with the rafter or roof plane.
- Read the pitch off the "common" scale — marked directly in X/12 increments.
- Alternatively, read the degree scale for the angle in degrees.
A speed square reading takes about 10 seconds once you're positioned correctly. The limitation, as noted, is that you need to be on or directly adjacent to the roof surface — making it the least suitable method for no-access situations. For anything requiring roof access, also refer to the pitch reference chart to understand what safety precautions are appropriate for your specific pitch.
Using the Online Roof Pitch Calculator
Once you have your pitch — from any of the methods above — the online roof pitch calculator turns that single number into a complete project estimate. Here's what it does:
- Calculates true roof surface area — applies the correct pitch multiplier to your plan dimensions automatically
- Outputs roofing squares — converts area to the standard ordering unit (1 square = 100 sq ft)
- Estimates material quantities — shingles, underlayment, ice-and-water shield, ridge caps
- Adds waste factor — you set the percentage, the calculator handles the rest
- Cost estimate — enter your price-per-square and get a total materials cost
- PDF report — downloadable summary for your records or to share with contractors
The calculator accepts pitch in any format — X/12 ratio, degrees, or gradient percentage. If you need to convert between formats first, use the pitch converter before entering your values.
Which Method Should You Use?
The right method depends on your specific situation. Here's a practical decision guide:
| Your situation | Recommended method |
|---|---|
| You have attic access and a smartphone | Phone sensor — fastest and most accurate |
| No attic access, gable-end roof | Gable-end geometry from the ground |
| No attic access, hip or complex roof | Building plans (if available) or hire a contractor |
| You have building plans | Read from plans, verify with phone sensor |
| Attic access, no smartphone | Framing square method |
| Already on the roof safely | Speed square — quickest on-roof reading |
| Need pitch for a permit or insurance claim | Phone sensor or framing square — both give precise readings |
| Quoting a job remotely | Ask the homeowner to use the Pitch Gauge from the attic |
From Pitch to Full Estimate: The Complete Workflow
Once you have your pitch reading, here's the complete workflow to go from measurement to material order — all without leaving the ground:
- Measure pitch — use the Pitch Gauge from the attic, or the gable-end method from outside.
- Note your plan dimensions — length and width of the building footprint, including overhangs.
- Open the roof calculator — enter your dimensions, pitch, and waste factor.
- Review the output — actual roof area, roofing squares, material quantities, and cost estimate.
- Download the PDF report — share with your supplier or contractor for quotes.
The entire process — from measuring the pitch in the attic to having a complete material estimate in your hands — takes under five minutes. No roof climbing, no trigonometry, no back-of-envelope guesses. For reference on any pitch value you encounter along the way, the pitch reference chart has every standard ratio with its angle, gradient, and multiplier laid out in a single table.
📐 Measure your pitch and calculate your roof — all without going up there
Free tools, instant results, downloadable report. No sign-up required.
👉 Open the Roof Calculator | 📱 Measure Pitch with Your Phone
Frequently Asked Questions
Can I calculate my roof pitch without going on the roof?
Yes — in most cases you don't need roof access at all. The two best no-roof methods are: (1) using the Pitch Gauge tool from inside the attic, holding your phone against a rafter for an instant reading; and (2) the gable-end geometry method, where you measure the building's width and the height from eave to ridge from the ground and calculate the pitch using the formula: (Rise ÷ (Span ÷ 2)) × 12.
How accurate is measuring roof pitch with a phone app?
Modern smartphone gyroscopes are accurate to within 0.1–0.3 degrees under normal conditions — more than sufficient for roofing calculations. The main source of error isn't the sensor but the surface it's placed on: a bowed rafter or uneven surface introduces more inaccuracy than the phone itself. For best results, use a straightedge laid along the rafter and hold your phone against that. The Pitch Gauge tool displays readings to one decimal place in degrees and the nearest 0.5 in X/12 format.
What is the easiest way to calculate roof pitch from the ground?
For a gable-end roof, the easiest ground-level method is to measure the building's width (span) and the height from the eave to the ridge, then use the formula: Pitch = (Rise ÷ Run) × 12, where Run = Span ÷ 2. Enter those measurements into the online roof pitch calculator and it will calculate the exact ratio, angle, and surface area for you. For hip or complex roofs without a clear gable triangle, the attic phone sensor method is more practical.
How do I use a framing square to measure roof pitch?
In the attic, hold the framing square with the long blade running along the rafter toward the ridge, levelled horizontally. Mark exactly 12 inches along the blade from the rafter. Measure the vertical distance from that 12-inch mark down to the rafter face — that number is your rise, giving you the pitch as Rise/12. For example, if the vertical measurement is 5 inches, your pitch is 5/12. Verify your reading against the pitch reference chart to confirm the corresponding angle and multiplier.
What information do I need to use an online roof pitch calculator?
To use the roof calculator for a full estimate, you need three things: your roof pitch (in X/12, degrees, or gradient), your building's plan dimensions (length and width, including overhangs), and your chosen waste factor percentage. Optionally, adding a price per square lets the calculator output a materials cost estimate. If you only want to convert your pitch to degrees or gradient, the pitch converter just needs the pitch value on its own.
Is a roof pitch calculator accurate enough for ordering materials?
Yes — provided your input measurements are accurate. The calculator applies the mathematically correct pitch multiplier and waste factor, so the output is as accurate as the dimensions you enter. The most common source of error in material estimates isn't the calculation — it's forgetting to include the roof overhang in the plan dimensions, or using an estimated pitch rather than a measured one. Use the Pitch Gauge for a precise pitch reading and measure to the outer edge of the fascia (not the wall face) for plan dimensions, and the calculator output will be reliable enough to order from.